


How to Install Home Bar Furniture: Setup Guide
Table of Contents
- Before You Install: Measuring for Home Bar Furniture
- Home Bar Furniture Assembly: Positioning and Stability
- Home Bar Layout Ideas and Setup Checklist
- Choosing Freestanding vs. Built-In Home Bar Furniture
- Frequently Asked Questions
Last Updated: October 6, 2026
Before You Install: Measuring for Home Bar Furniture
Installing home bar furniture starts with a tape measure, not a toolkit. Careful measurements can help prevent problems such as tight walkways or discovering that a cabinet won't clear a doorway or stairwell.
Confirm the product's listed dimensions against your room, then measure the delivery path: doorways, stair turns, elevator dimensions, and hallway width.
- Room dimensions: width, depth, ceiling height
- Delivery path: every doorway, turn, threshold
- Walkway clearance: room to move behind and beside the bar
- Surrounding furniture: make sure seating, serving surfaces, and nearby furniture work comfortably with the bar
- Utilities: nearby outlets if a beverage fridge is planned
Write the numbers down. Guessing is how people end up with a bar that fits the wall but not the room.
Home Bar Furniture Assembly: Positioning and Stability
Positioning matters as much as assembly. For freestanding home bar furniture, consider the available floor space and any clearance needed to fully use doors, drawers, shelves, or other features. Follow the manufacturer's instructions for your specific product rather than a generic assembly sequence.
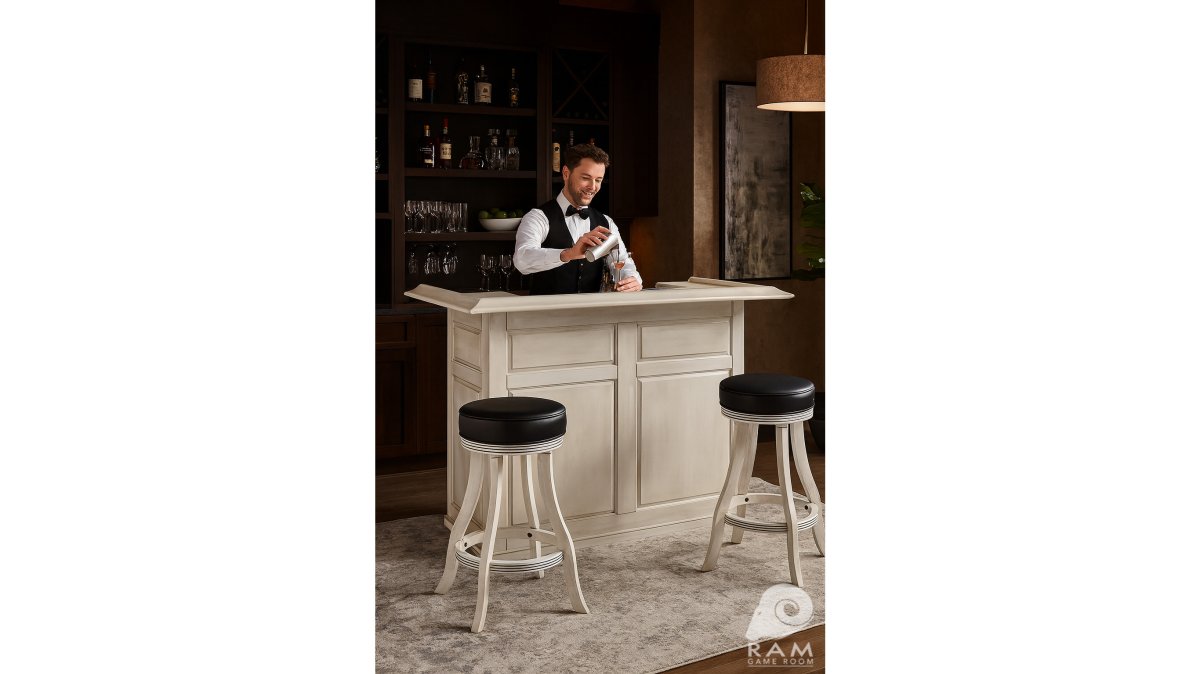
A few practical habits help:
- Assemble near the final location when the piece allows it
- Protect floors with a blanket or cardboard during movement
- Once positioned, follow the manufacturer's guidance for leveling or stabilizing the piece before adding stored items.
Requirements vary by product and manufacturer. Some pieces may call for wall anchoring; others stand alone. Use the guidance supplied with your specific bar.
Home Bar Layout Ideas and Setup Checklist
A good layout follows how you actually entertain. If guests gather at the bar, leave clear standing room in front; if it doubles as a prep counter, keep the serving surface uncluttered and storage close at hand.
Consider these arrangements:
- Against a wall: can work well when you want to keep more of the room's central floor area open
- Freestanding: can create a focal point when the room provides enough space around the bar
- Paired setup: combines a front bar with a coordinating back bar when the room and storage needs support a larger arrangement
Use this setup checklist before you commit:
- Confirm room and delivery-path measurements
- Verify product dimensions and clearances
- Plan the intended location before assembly
- Protect floors and surrounding surfaces
- Read the manufacturer's instructions fully
- Check nearby outlets if a fridge is planned
- Confirm the finished bar sits level and stable
For additional information about furniture stability and tip-over prevention, review the U.S. Consumer Product Safety Commission guidance on furniture stability alongside the instructions provided for your specific product.
Choosing Freestanding vs. Built-In Home Bar Furniture
Freestanding and built-in home bars create different kinds of spaces. Freestanding furniture offers flexibility in placement and may be a good choice when you want to furnish an existing room without creating a permanently integrated bar. A built-in bar becomes part of the room itself and may involve additional planning or professional work depending on the design.
Consider how permanent you want the setup to be, how much space is available, and whether the room needs to accommodate other uses. For built-in designs, verify any applicable electrical, plumbing, construction, or other requirements before beginning the project.
Whichever route you take, confirm the product's actual specifications before buying. Dimensions, weight, and any utility requirements should come from the manufacturer, not from assumptions based on a product photo.
Frequently Asked Questions
How do you install home bar furniture?
Start by measuring the room, confirming the product's listed dimensions, and checking the delivery path through doorways, hallways, stairs, and turns. Plan the intended location, protect surrounding surfaces as needed, and follow the manufacturer's assembly and installation instructions for the specific product. If the piece requires anchoring, utility connections, or other specialized work, follow the manufacturer's guidance and use a qualified professional when appropriate.
Do home bar cabinets need to be anchored to a wall?
Anchoring requirements vary by product. Check the manufacturer's instructions for your specific home bar cabinet and follow any stability or anchoring requirements provided. If anchoring is recommended or required and you're unsure about the appropriate method for your wall or installation, consider using a qualified professional.
Should I assemble home bar furniture in its final location?
It depends on the product, its assembly instructions, and the room. Before assembly, consider the size of the finished piece and the route it would need to travel to reach its intended location. Follow the manufacturer's recommended assembly sequence and any guidance regarding moving or positioning the finished furniture.
Creating a home bar that feels intentional takes planning, not guesswork. Check the listed dimensions, review the manufacturer's instructions, and confirm your room and delivery path before ordering. Explore the Lounge Apex home bar collection to find a piece that fits your space and the way you gather.


